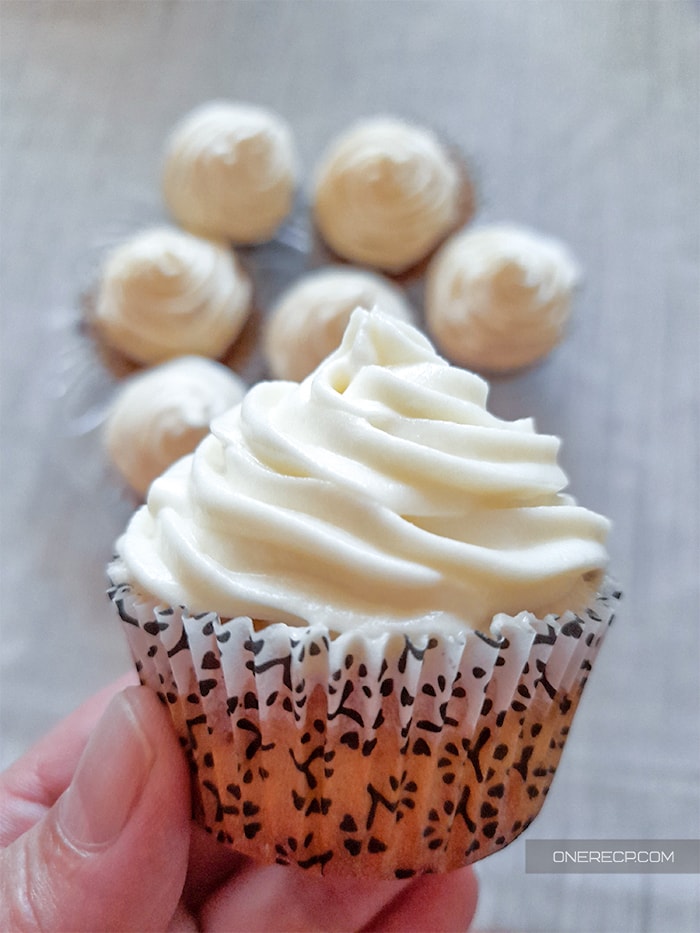
You can make this simple vanilla cupcake recipe without butter for any social occasion! It will take you no more than 10 minutes to assemble it from scratch and yield you 12 heavenly cupcakes!
And since it’s quite easy to follow, you can also use it to introduce your young ones to baking.
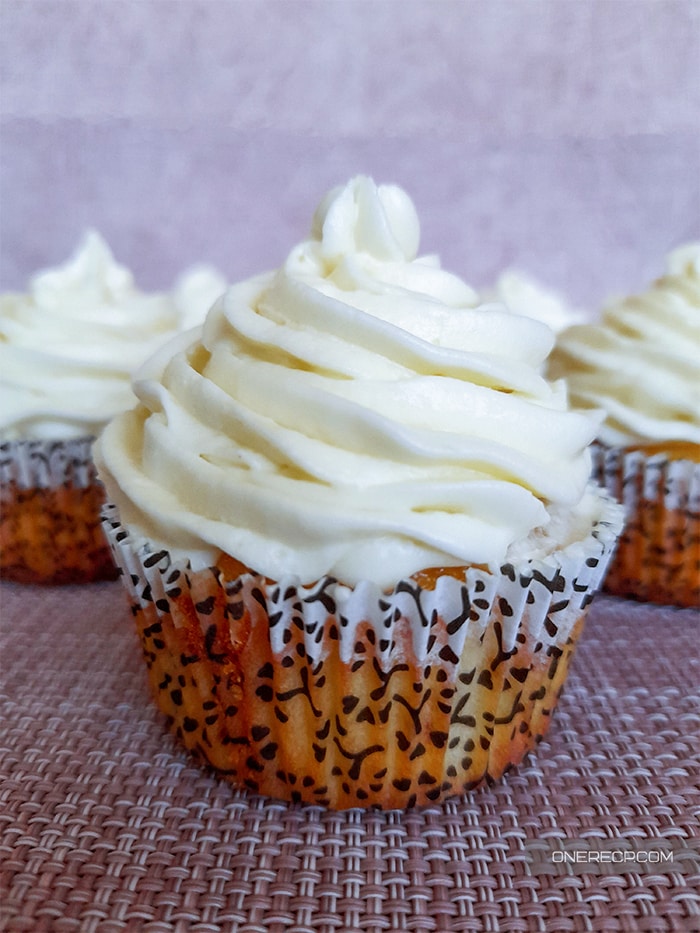
My Vanilla Cupcake Recipe without any Butter
Making a vanilla cupcake recipe with no butter is just as easy as following a traditional one.
As long as you don’t mess up the amount of ingredients and stick to the formula, you’ll always end up with a batch of moist, mouth watering cupcakes.
And the best part is they’ll stay fresh and light for a longer time than the ones baked with butter.
This lets you bake a bigger batch that you can indulge in for more than just a few hours.
This vanilla cupcake recipe is made with canola oil, but you can substitute it for any type of vegetable oil that won’t impart its flavors such as sunflower oil.
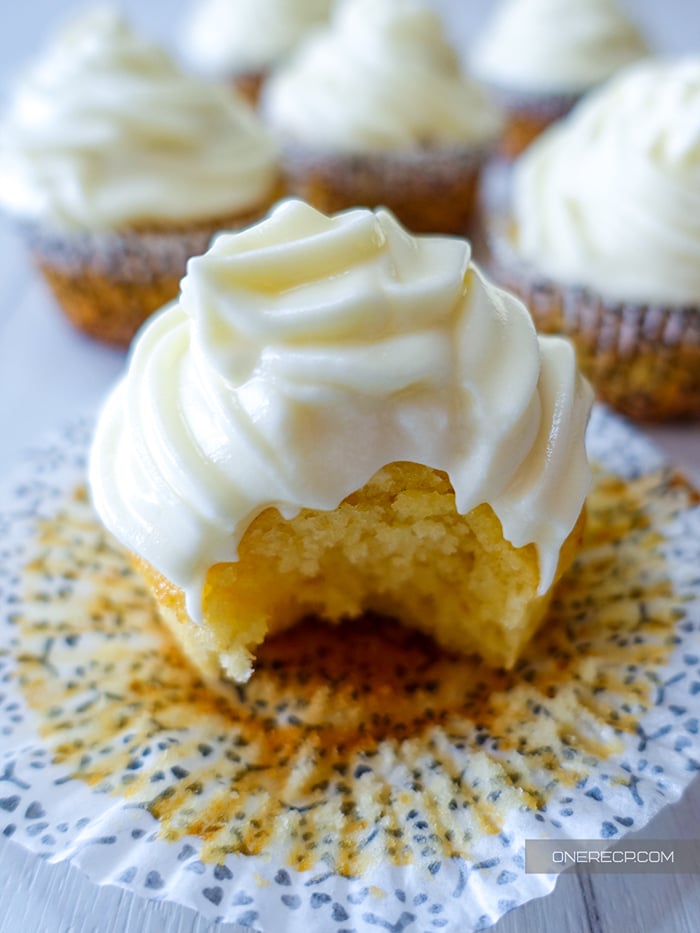
However, the secret behind the tender crumb of these moist cupcakes is sour cream!
Incorporating the sour cream into cupcake batter relaxes the gluten strands and adds an additional depth of flavor.
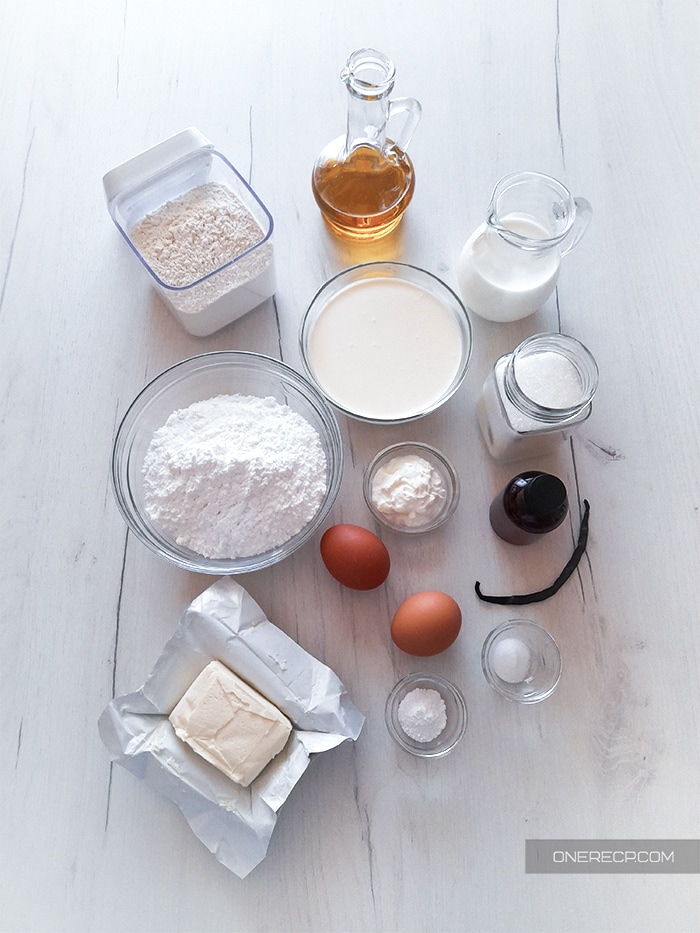
Recipe Ingredients
- Eggs provide structure to the cupcakes by binding the dry ingredients together.
- Vanilla Extract will give them their signature taste.
- Milk enriches their flavor and keeps their texture soft.
- Sour Cream will provide moisture without thinning the batter.
- Salt will bring out the flavor of the other ingredients.
- Baking Powder is the leavening agent in this recipe.
- Canola Oil is the main source of fat that will also keep these butterless cupcakes moist.
- All Purpose Flour has a lower protein content compare to bread flour and will therefore give your cupcakes a soft and tender crumb.
- Granulated Sugar will not overwhelm the other ingredients with its flavor.
For more variety, you can also check out my list of ideas for cupcake recipes without butter.
How to Prepare It
Check out the recipe card at the end of this article for detailed, step-by-step instructions.
Take out the wet ingredients from the fridge and let them sit for at least an hour on your kitchen counter.
This will allow them to reach room temperature and will prevent the formation of lumps in your batter.
In the meantime, you can preheat your oven to 350℉ so you can throw the cupcakes straight in once you’re done with the batter.
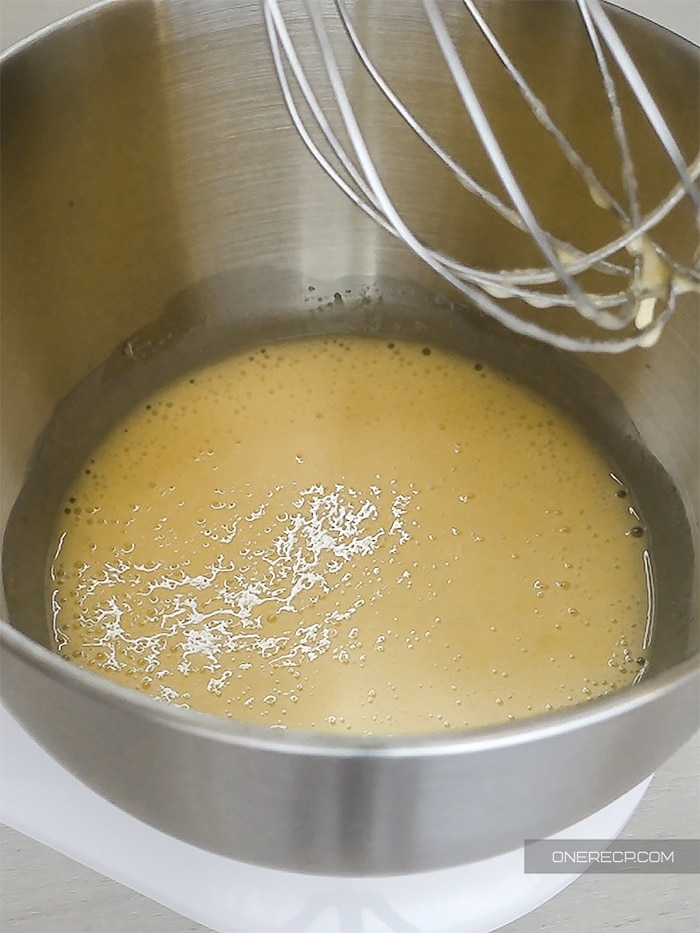
When you’re ready to start mixing, combine the sugar, canola oil, eggs and vanilla extract in a large bowl.
Beat them on medium until they’re well combined and the batter becomes lighter in color, which should take you roughly 2 minutes.
Continue by adding the sour cream and mixing until it blends with the other ingredients.
Next, mix the flour, baking powder, and salt in a separate bowl.
Add half of the dry mix and half of the milk into the batter and whisk just until the flour starts to incorporate well into the mixture.
Then, add the remaining ingredients and whisk the batter until it becomes smooth and all of the ingredients are blended together.
Be careful not to overmix the batter as this will overdevelop the gluten strands and make the cupcakes chewy.
You should stop mixing as soon as you can’t see the ingredients you have added.
When the mixture is ready, use the spatula to scrape down the sides of the bowl and stir the batter from the bottom to the top to ensure it’s well mixed.
After the batter is ready, line your cupcake pan with paper liners and start pouring it with a cookie scoop.
You can also use silicone molds for the purpose if you have that instead.
You should fill each liner until it’s 2/3 full.
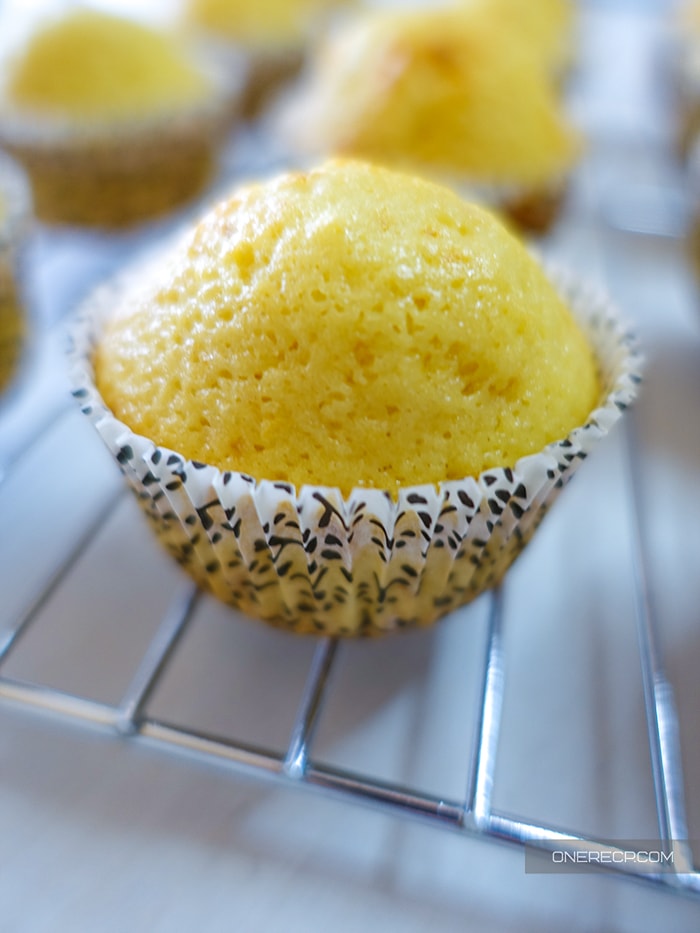
Bake the cupcakes for 14 to 16 minutes and use a toothpick to check if they’re ready.
You’ll know they’re ready if the toothpick comes out clean.
Variations
- Vegan – You can turn this into a vegan cupcake recipe by replacing the sour cream, and milk with 1 1/2 cup almond milk and swapping out the eggs for applesauce.
However, you’ll also need to increase the flour to 2 cups, add in 1 tbsp apple cider vinegar and 1/2 tsp baking soda to improve leavening.
You can check out exactly how much applesauce you’ll need here.
- Dairy Free – You can make these vanilla cupcakes dairy-free by tossing out the milk and sour cream and increasing the amount of oil to 180ml.
In this case, you’ll also need to add an additional egg to the mix.
- Low-Fat – If you want a healthier, low-fat cupcake alternative, then you can substitute the sour cream for Greek or Bulgarian yogurt.
Greek and Bulgarian yogurts have variations with nearly the same amount of moisture as sour cream but four times less fat.
Tips and Ideas
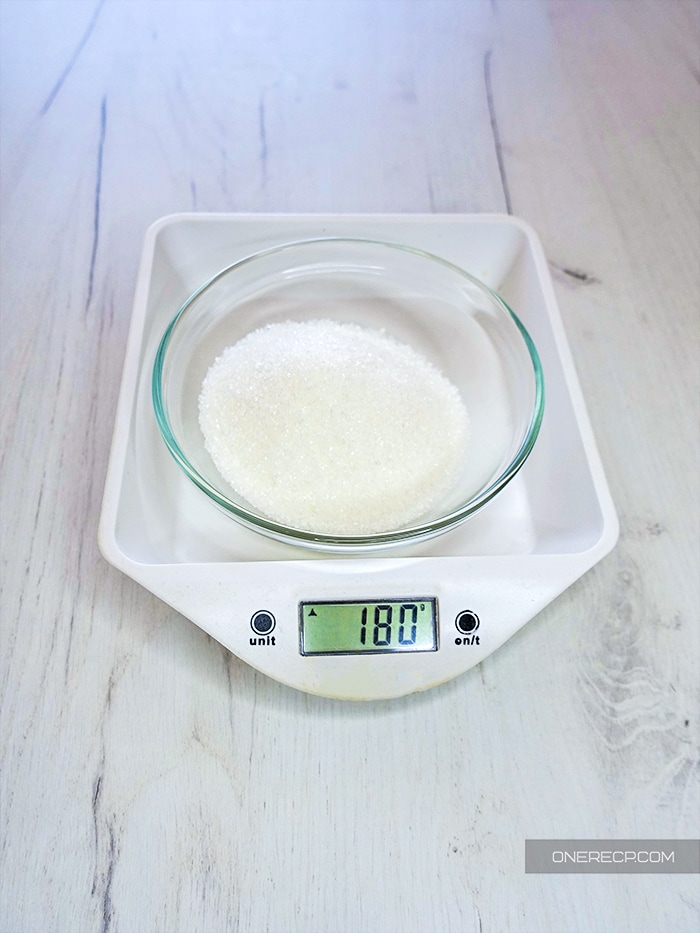
- Measure ingredients with a scale.
Baking is more of an exact science than cooking.
And if you get carried away you can easily ruin the careful ingredient balance and let your efforts go down the drain.
- Sift the flour and the sugar.
The appearance of any lumps in the dough and frosting is not a pleasant sight.
I play it safe by sifting the flour and powdered sugar.
- Don’t open the door during baking.
Even though this might seem like a stretch, continuously opening and closing the door during baking can burst some of the bubbles in the batter and ruin the texture of your cupcakes.
- Let cupcakes cool before frosting.
If you try to frost your cupcakes before they’ve had a chance to cool down, the frosting will melt and fall off.
To prevent this you can spread them on a wire rack and let them cool for an hour or flash-freeze them for 20 minutes.
- Chill the frosting before using it.
Use cold whipped cream for the vanilla frosting.
In my experience, this way you don’t risk over-whipping it.
When it’s ready, cover the frosting and let it sit in the fridge for about 40-50 minutes before using it.
It will be much easier to pipe if it’s cooled and it won’t be runny.
Storage and freezing
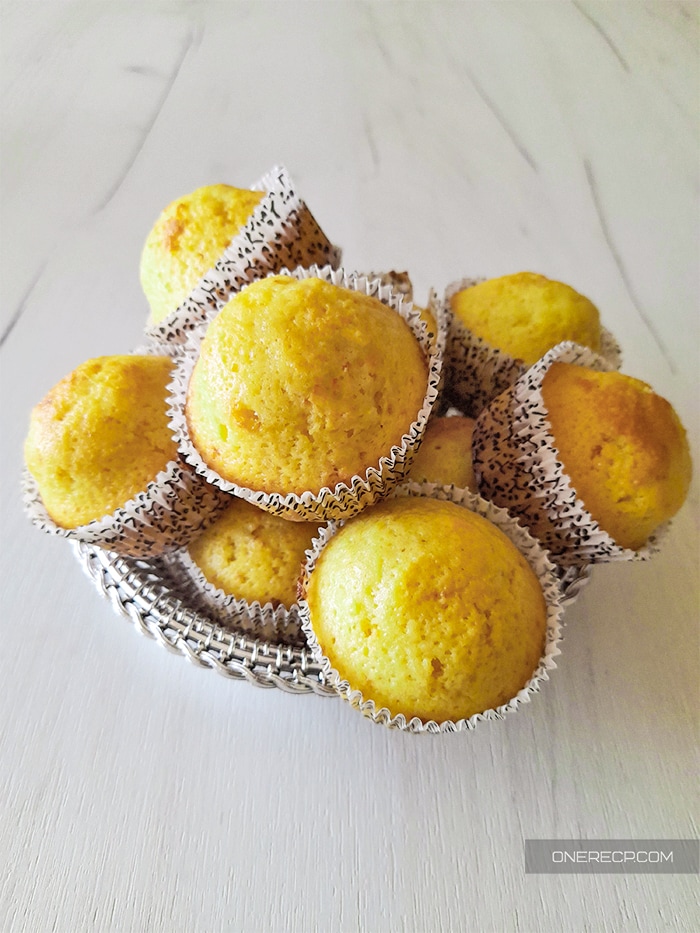
If you’re on a busy schedule, you can make cupcakes 3 days in advance and store them in the refrigerator.
Alternatively, you can keep any leftovers for 3 days in the fridge or place them in an air-tight container and freeze them. Frozen cupcakes will remain safe to eat for three months.
Tools for this recipe
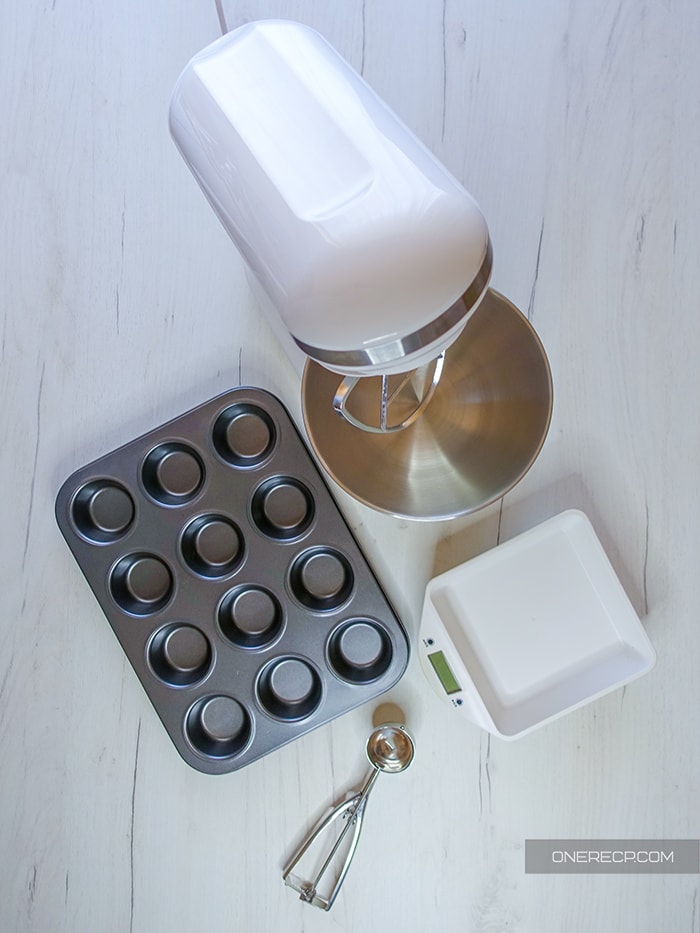
- Stand Mixer – I’ve been using this stand mixer for quite some time and I’m happy with the results.
- Cupcake Pan – a standard 12 piece cupcake pan.
- Kitchen Scale – for measuring the exact amount of each ingredient.
- Cookie Scoop – helps to spread out the dough in the liners more evenly.
Did you try this recipe?
Then don’t hesitate to write me a comment! I would love to hear your feedback.
↑ Click stars to rate now!
Simple Vanilla Cupcakes Recipe Without Any Butter
Ingredients
For the cupcakes:
- 1 1/2 cups (180g) all purpose flour
- 1/4 cup (60ml) sour cream
- 1/4 cup (60ml) canola oil
- 1 cup (180g) granulated sugar
- 2 large eggs
- 1 1/2 tsp (7.4ml) vanilla extract
- 1 1/2 tsp (5.4g) baking powder
- 1/2 tsp (2.5g) salt
- 2/3 cups (158ml) milk
For the frosting:
- 4 oz cream cheese
- 1 cup powdered sugar
- 3/4 cup heavy whipping cream
- 1 tsp vanilla extract
Instructions
- Take out the wet ingredients from the fridge and let them sit on your kitchen counter for an hour. This will make the batter more even.
- Preheat your oven to 350℉.
- Combine the sugar, eggs, canola oil, and vanilla extract in that order, then beat on medium until they're well combined (about 2 minutes).
- Add the sour cream and mix until it's well incorporated with the rest of the ingredients.
- Mix the flour, baking powder, and salt in that order in a separate bowl.
- Stir half of the dairy mixture and half of the milk into the batter and whisk.
- Add the rest of ingredients and whisk until you reach an even consistency.
- Use a cookie scoop to portion out the batter evenly. Fill each liner ⅔ way through.
- Bake for 14 to 16 minutes in the oven. Insert a toothpick to check the doneness of the cupcakes. When the cupcakes are done, the toothpick should come out clean.
Video
Notes
- Keep in mind that this recipe can yield between 12 and 14 cupcakes, depending on your baking tray.
- You can double the ingredients for 24 cupcakes. However, in that case, you'd want to use 3 large eggs and 1 1/4 cups of milk (296 ml).
- I got asked this - You should sift the flour and sugar AFTER you've weighed them and not before that.
↑ Click stars to rate now!
Nutrition
I do my best to provide you with the nutritional information for recipes but I'm not a certified nutritionist. The nutritional information provided should only be treated as an estimate since it will vary based on cooking methods and brands of ingredients used.