There’s something deeply comforting about a wooden spoon.
It’s not just a kitchen tool – it’s a little piece of home.
Maybe it reminds you of your grandmother mixing cake batter or slowly folding something delicious in a big bowl, the quiet rhythm of cooking filling the room.
Wooden spoons carry warmth.
They age beautifully, soaking up stories along with sauces.
And if you care for them right, they’ll stay with you for years – smooth, strong, and full of character.
That’s where seasoning comes in.
In short – clean, dry, mineral oil.
But let me show you how to season wooden spoons properly, and more importantly, why this simple routine works so well.
It’s the kind of small habit that keeps your spoons looking beautiful and performing like new, every single time you reach for them.

How to Season Wooden Spoons the Right Way
Before you start, think of seasoning like moisturizing your skin – it’s about keeping the wood nourished and protected.
Wood, after all, is porous, and without care, it can absorb moisture and oils from food that eventually lead to warping, stains, and unpleasant smells.
Step 1: Clean your spoons properly
Start with a clean slate. Wash your wooden spoons in warm, soapy water and scrub away any leftover food particles.
Avoid soaking them for too long – wood doesn’t like sitting in water.
Once clean, dry them completely with a towel and let them air-dry for a few hours.
The wood needs to be bone dry before you season it.

Step 2: Choose your oil wisely
This is where many people go wrong.
Not every oil belongs on wood, especially in the kitchen.
You want something food-safe that won’t go rancid over time.
Mineral oil is a classic choice because it’s odorless, tasteless, and shelf-stable.
But if you prefer something natural, you can also use fractionated coconut oil (the liquid kind that doesn’t solidify at room temperature) or beeswax-based wood conditioners.
Avoid olive oil, vegetable oil, or anything that can spoil – your spoons will thank you later.
Step 3: Apply the oil generously

Pour a small amount of your chosen oil onto a soft, clean cloth or paper towel.
Rub it into the spoon, covering every inch – the handle, the bowl, even the back.
Don’t be shy with it.
Let the oil soak in deeply; you’ll see the wood’s natural grain come alive as it drinks it up.
Step 4: Let it rest and absorb
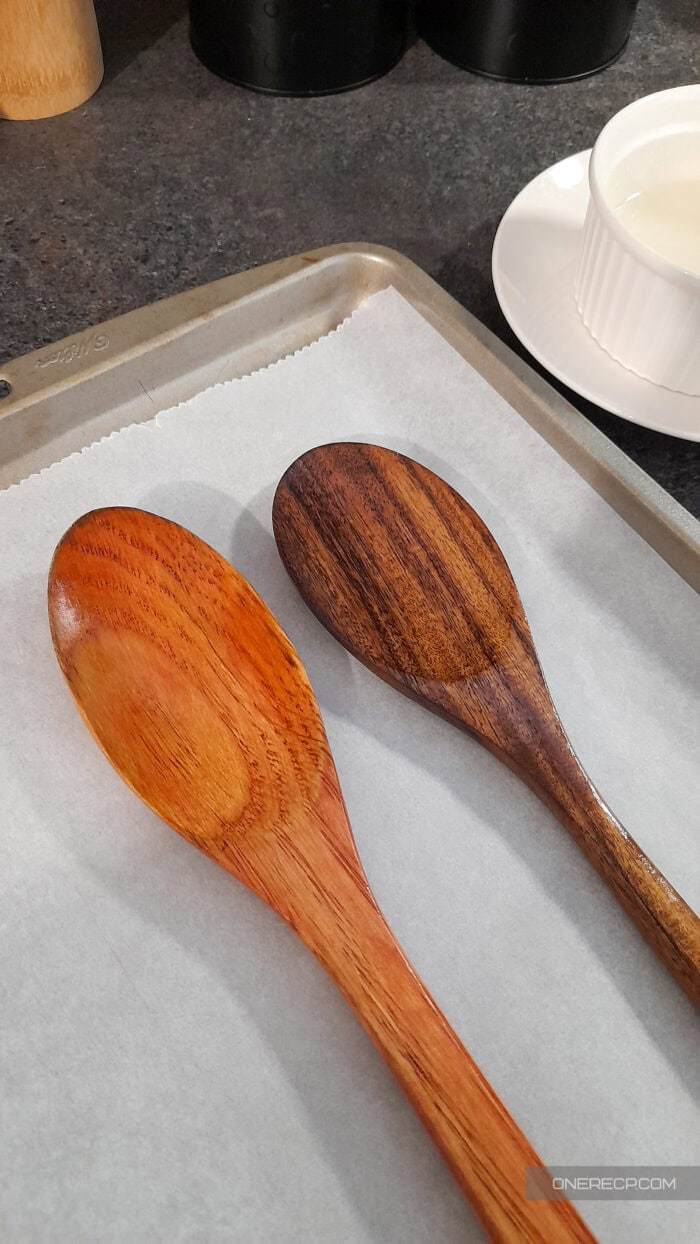
Once coated, lay your spoons on a clean surface and let them sit for several hours – overnight if possible.
This gives the oil time to penetrate the wood fibers and form a protective layer.
You can place them on a sheet of parchment paper to catch any excess oil.
Step 5: Buff the surface
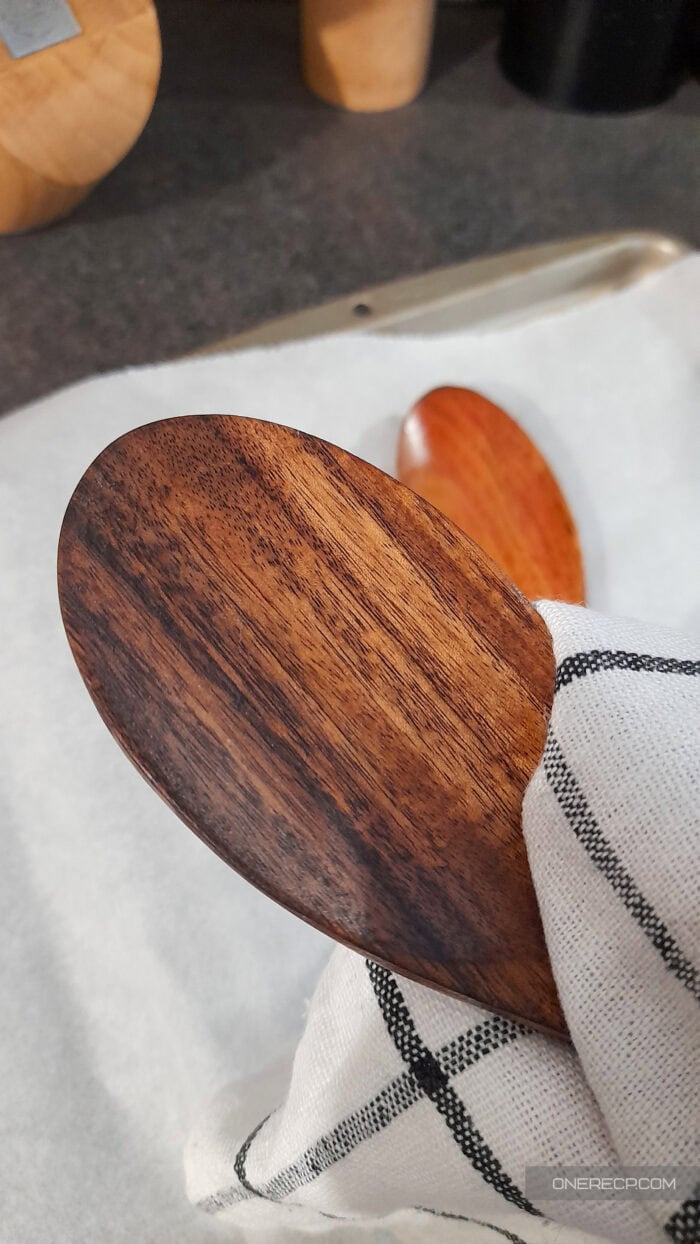
After resting, take a dry, soft cloth and gently buff off any remaining oil.
You’re not trying to remove it – just polish the surface so it feels smooth, not greasy.
Your spoon should now have a gentle sheen and a velvety feel.
Repeat this process once a month if you use your spoons daily, or every few months if they spend more time in the drawer.
It’s a simple habit that pays off big in the long run.
How Often Should You Reseason Wooden Spoons?
It depends on how often you cook and wash them.
If your spoons are in constant use – stirring sauces, soups, or batters – aim for once every month or two.
The signs are easy to spot: when the wood starts looking dry, rough, or faded, it’s time for a little TLC.
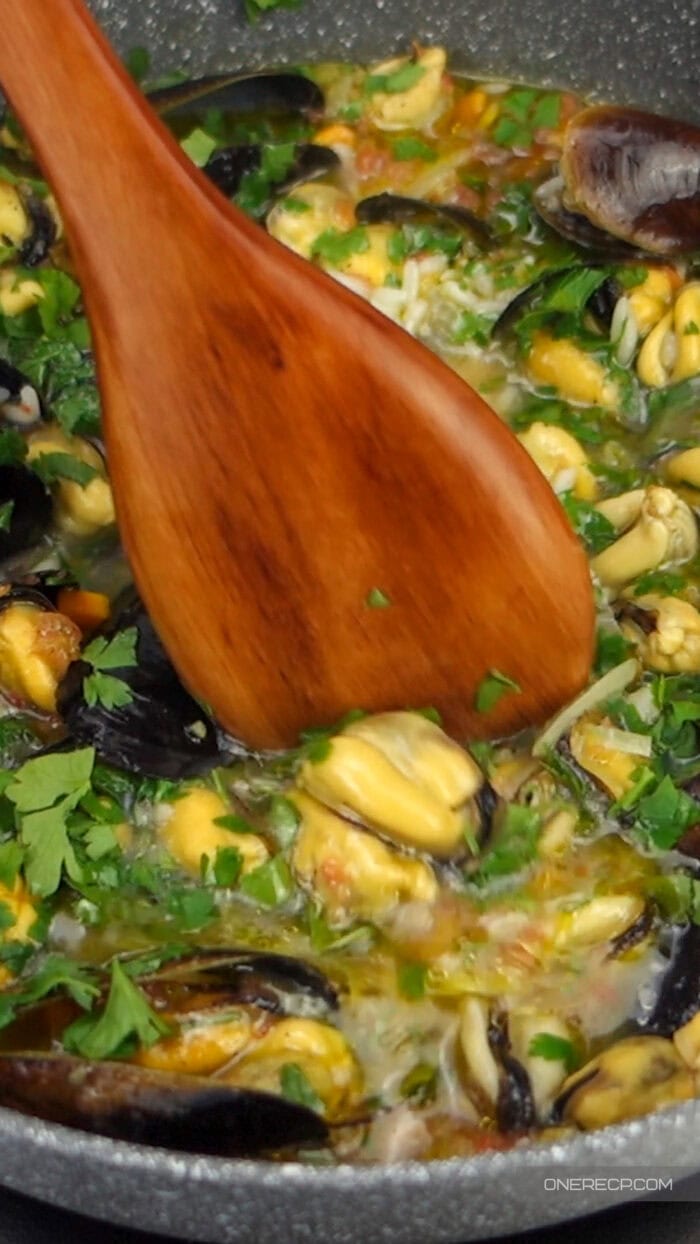
Seasoning isn’t just about appearance; it’s also about performance.
Well-oiled spoons don’t absorb food odors or colors as easily, and they glide more smoothly through whatever you’re stirring.
If you notice your spoon feeling a bit fuzzy or rough, that’s another cue – grab your oil and bring it back to life.
Here’s a quick rule of thumb:
When in doubt, season.
You can’t overdo it, and your spoons will only get better with age.

Can You Use Olive Oil or Vegetable Oil for Wooden Spoons?
This is one of the most common mistakes people make, and it’s an understandable one.
Olive oil and vegetable oil are household staples, so it’s tempting to reach for them.
But here’s the truth: they can go rancid over time, leaving your spoons sticky, smelly, and unappetizing.
Food-safe mineral oil doesn’t spoil, which makes it the safest bet for longevity.
If you prefer something more natural, fractionated coconut oil or a beeswax-based blend offers that same protection with a pleasant, subtle scent.
Here are a few alternatives that work beautifully:
- Mineral oil: the gold standard for wood care, widely available and food-safe.
- Beeswax conditioner: creates a thicker, more durable barrier that locks moisture in.
- Fractionated coconut oil: natural, scent-free, and won’t go rancid like regular coconut oil.
Avoid oils like canola, sunflower, or olive oil – even a small amount can spoil and ruin the texture and smell of your utensils.
What to Do If Your Wooden Spoons Get Sticky or Rough
Even with care, wooden spoons can develop a sticky residue or rough surface over time.
It’s often from old oil, food buildup, or just everyday wear and tear.
Luckily, fixing it is easy – no need to toss your favorite spoon.
Here’s how to restore them:
- Give them a gentle scrub using a paste of baking soda and water.
This helps remove residue without damaging the wood.
Rinse and dry thoroughly. - Lightly sand the surface with fine-grit sandpaper (220 grit works great) to smooth any rough spots.
Always sand in the direction of the grain, not against it. - Clean off the dust with a damp cloth, then let the spoon dry completely.
Once it’s smooth and dry, it’s ready for another round of seasoning.
After this mini spa treatment, your spoons will feel brand new again – soft, clean, and perfectly smooth.
How to Store Wooden Spoons After Seasoning

Proper storage matters almost as much as seasoning.
Keep your spoons somewhere dry and well-ventilated, away from steamy stovetops or dishwashers.
Standing them upright in a jar or laying them flat in a drawer with space between each spoon helps air circulate and prevents moisture buildup.
If you accidentally leave your spoon in a pot of sauce or water for too long, dry it right away and re-season it soon after.
Prolonged exposure to moisture is the fastest way to undo all your careful work.
You can also hang them – it’s practical and adds that cozy, rustic charm to your kitchen.
Can You Use the Same Method for Wooden Cutting Boards and Utensils?
Yes! In fact, the same principles apply across all wooden kitchen tools.
Your cutting boards, salad servers, rolling pins – they all benefit from a good oil treatment. Just remember that boards may need a bit more oil since they’re larger and get more direct contact with food and moisture – which also means they need a gentler, more natural cleaning routine to stay in good shape.
When you season your spoons, it’s a great time to line up the rest of your wooden items and give them the same care.
It’s quick, satisfying, and will make your entire kitchenware collection look polished and loved.
Other related questions you might have:
- How do I know if my spoon is beyond saving?
If it’s cracked, split, or smells bad no matter what you do, it’s probably time to retire it. Splits can harbor bacteria and aren’t worth the risk. - Can I use the oven or heat to help oil absorb faster?
Not recommended. Wood expands with heat, and you could warp or dry it out too quickly. Patience always wins with seasoning. - What’s the best beeswax-to-oil ratio if I make my own conditioner?
A 1:4 ratio (one part beeswax to four parts oil) usually gives a perfect creamy texture that’s easy to apply and store.
Final Thoughts
Seasoning your wooden spoons isn’t just about upkeep – it’s about appreciation.
These tools serve you meal after meal, quietly enduring hot pans, thick doughs, and countless stirs.
Giving them the care they deserve ensures they’ll last for decades, aging gracefully just like a good cast iron pan.
So the next time you wash your favorite spoon, take a moment to see if it’s ready for another coat of oil.
It’s a small ritual, but it transforms an ordinary utensil into something personal and enduring – a little piece of kitchen history seasoned with love.
With just a bit of oil, patience, and consistency, you’ll master how to season your wooden utensils and keep them looking and feeling perfect for years to come.