Fresh mussels don’t need complicated preparation, but if you’re cleaning them for the first time, it’s easy to spend far too long examining every shell.
I clean mussels individually under cold running water, removing any damaged ones, pulling off the beards, and scrubbing away dirt when necessary. Once each mussel has been checked and cleaned, it goes into a clean bowl or colander and then straight into the pot.
If this is your first time, start with a smaller batch. You’ll probably work much more slowly than someone who’s cleaned mussels many times, and there’s no benefit to having a large batch of live mussels sitting on the counter while you figure everything out.
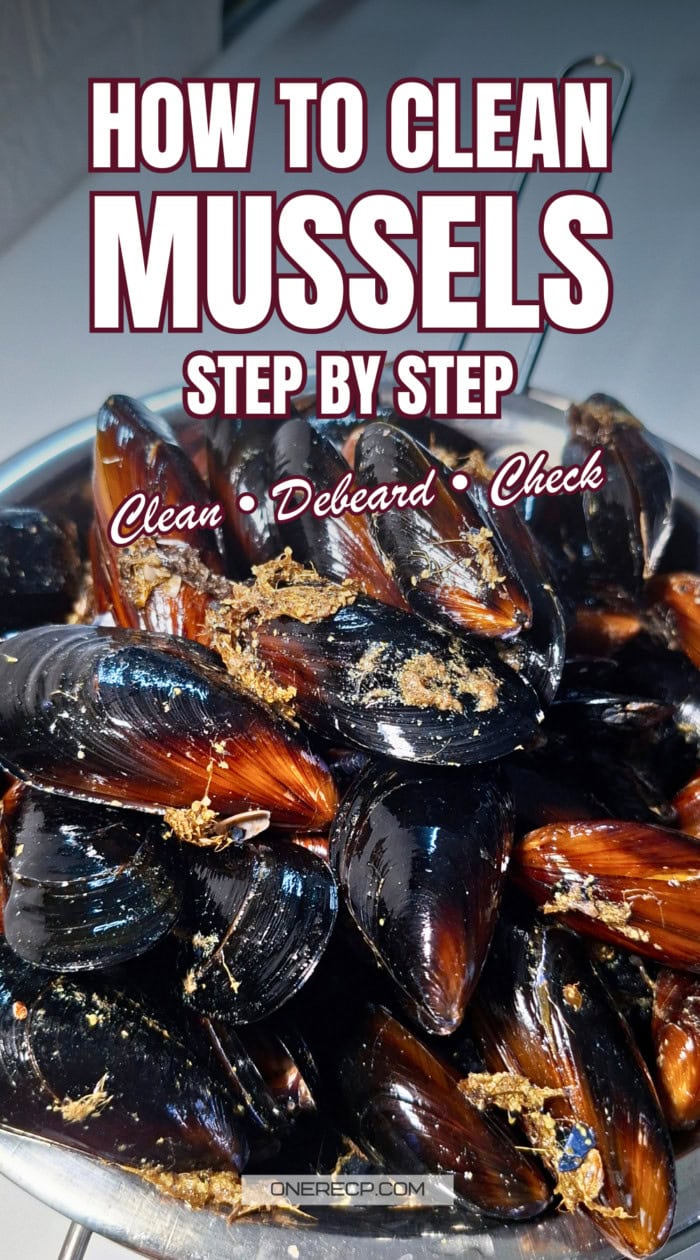
How to Choose and Check Fresh Mussels
I actually start checking my mussels before I buy them.
The mussels I buy come in mesh bags, but the seller empties them out before packing my order. This gives me a chance to see the batch properly. A few imperfect-looking shells aren’t unusual, but if I see lots of broken mussels or the entire batch looks exceptionally dirty, I’ll pass on it.
Once I’m home, I keep the mussels refrigerated until I’m ready to clean and cook them.
Before cleaning, discard empty shells and mussels with broken or cracked shells. If a mussel is open, however, don’t assume it’s dead just because the shell isn’t closed. Live mussels should respond when tapped by beginning to close; FDA guidance recommends discarding one that doesn’t close after tapping.
In my kitchen, I often see this response before I even need to tap the shell. As I clean the mussels under cold running water, an open live mussel will often begin closing on its own.

The tap test is something I learned while working on my mussel guides rather than something I’ve always done. I tested it myself, though, and it gives me a useful second check for an open mussel that hasn’t already responded while I’m cleaning it.
How to Clean Mussels Step by Step
I clean mussels immediately before cooking them rather than cleaning a whole batch in advance. Keep them refrigerated until you’re ready to start.
You’ll need a clean bowl or colander, and it helps to have a stiff-bristled kitchen brush nearby. I normally clean the shells with my hands and only reach for the brush when a mussel needs more work.
1. Rinse and inspect the mussels
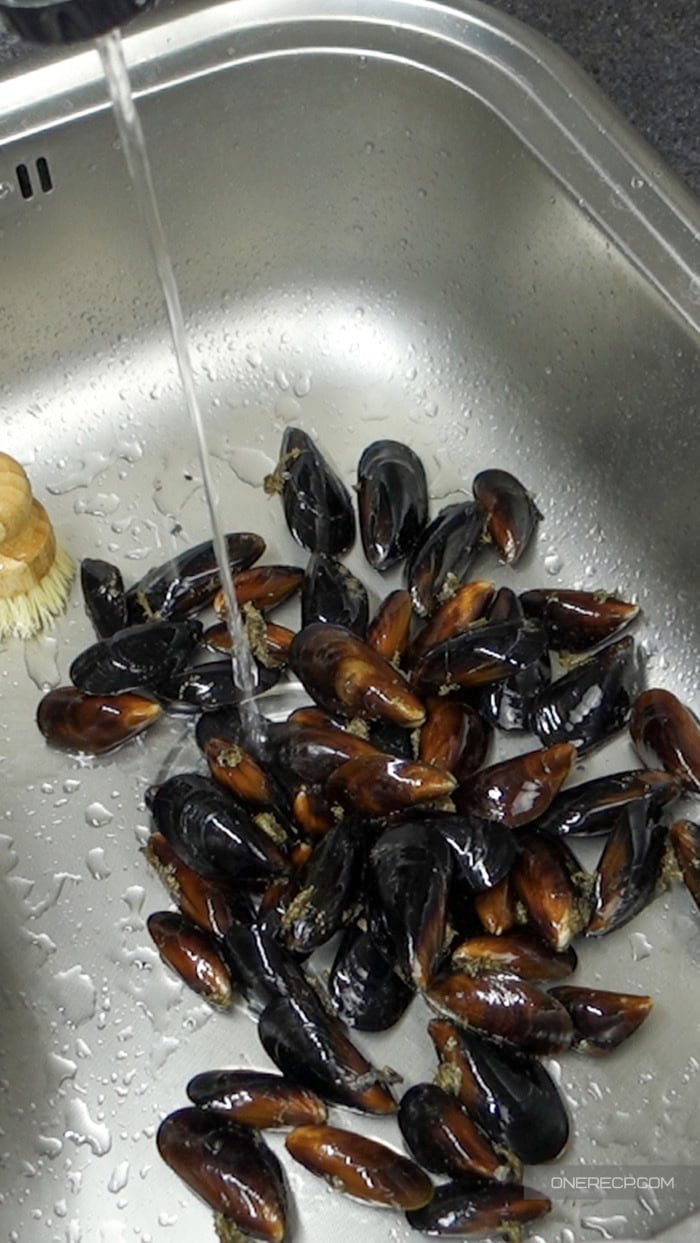
Put the mussels in the sink and run cold water over them.
Before I start working through them individually, I look over the batch from above. This makes empty shells, very small stray mussels, debris, and badly smashed shells easy to spot and remove.
Then I take them one at a time.
2. Remove the beard
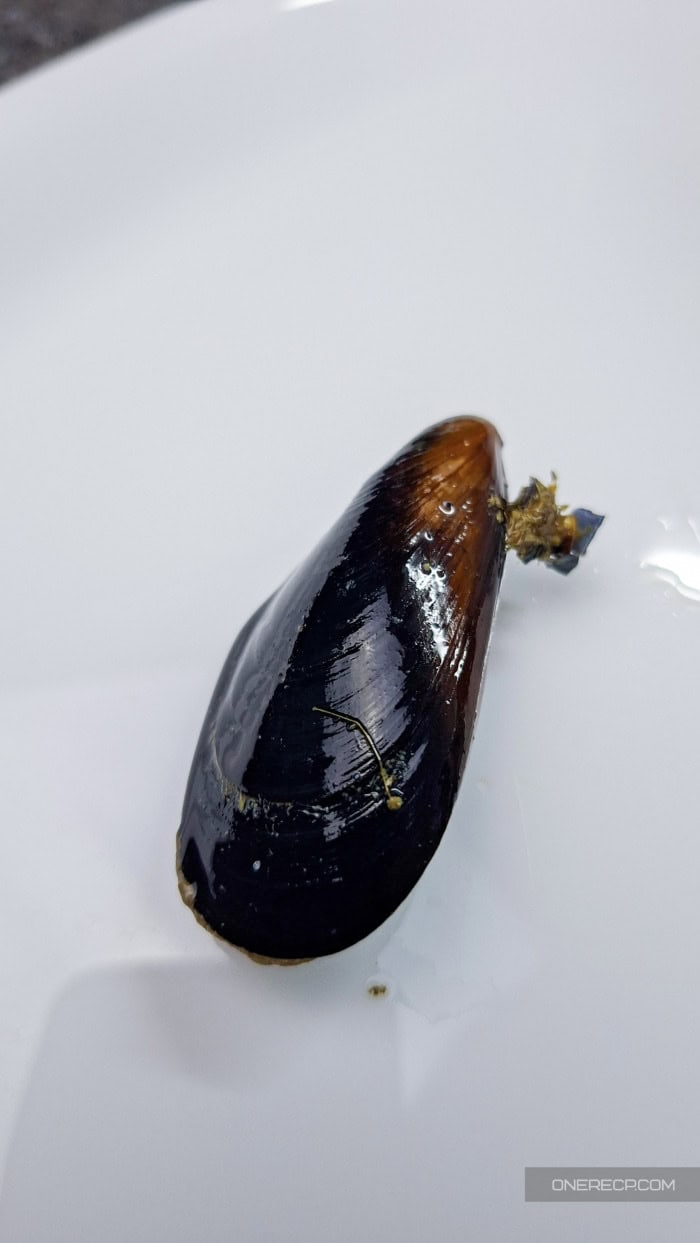
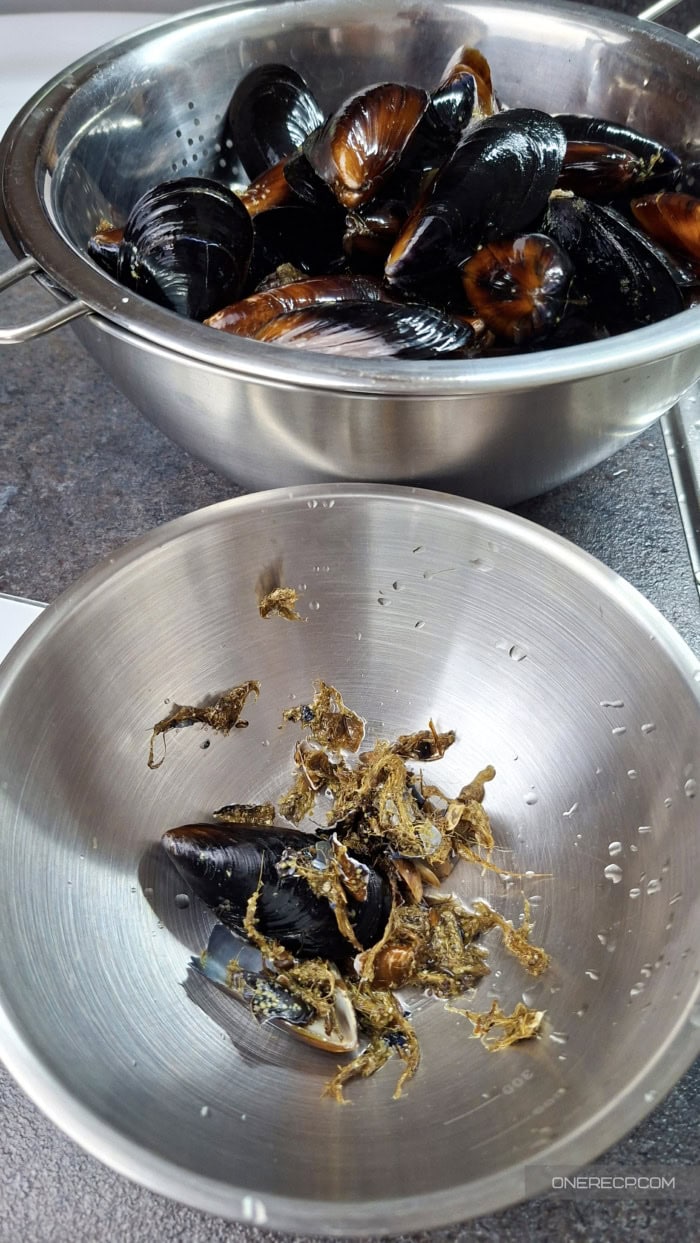
Some mussels have a cluster of tough, stringy fibers protruding from between the shells. This is the mussel’s beard, or byssal threads.
Not every mussel will have a visible beard, so if you don’t see one, there’s nothing you need to pull out.
I remove the beard before cleaning the rest of the shell. Hold the mussel firmly and grip the beard as close to the shell as you can. Pull firmly and quickly toward the narrow, hinged end of the mussel, following the line of the shell.
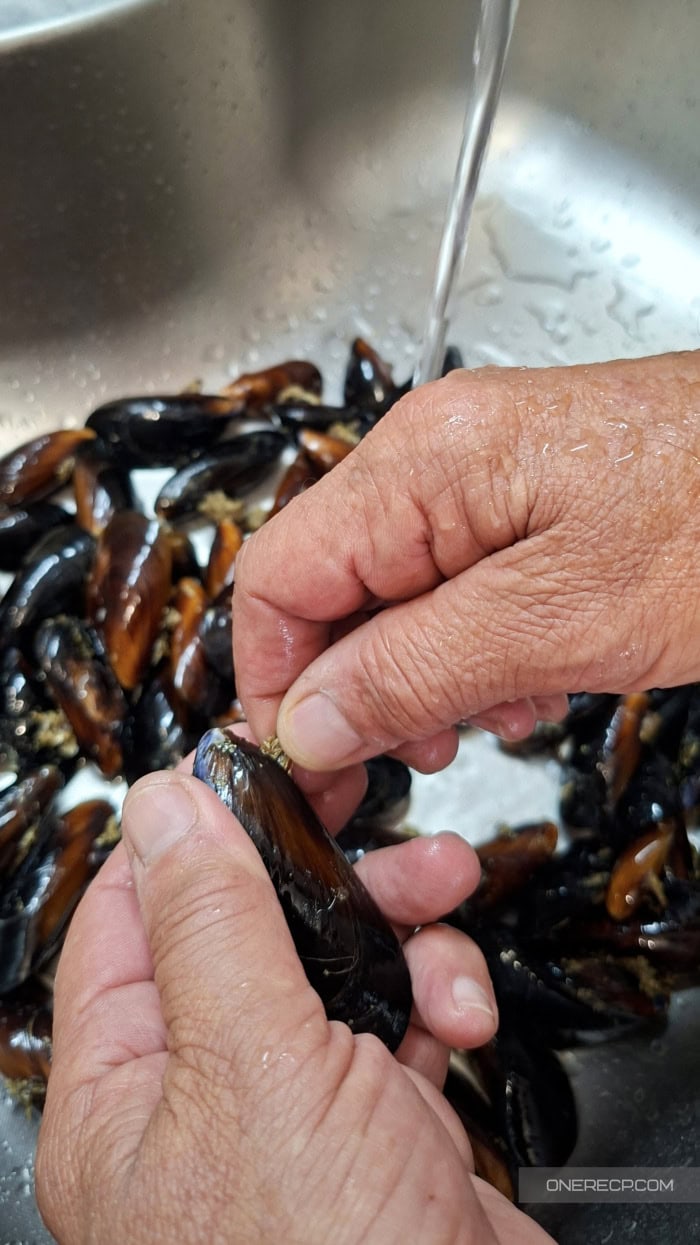
This direction matters. I’ve pulled a stubborn beard the opposite way when I’ve become frustrated with it, and I’ve torn the mussel inside by doing that. Pulling toward the narrow end works much better.
Some beards come away immediately; others put up a fight. If a few short fibers remain, I try to remove those too, but I’m not trying to mutilate the mussel in pursuit of one tiny strand.
3. Clean the shell
With the beard removed, wash the mussel under cold running water.
For an ordinary mussel, I use my hands and rub the shell with about the amount of pressure I’d use when washing a plate. A quick splash of water isn’t always enough – you want to remove loose dirt, mud, and debris and be able to feel the shell properly.
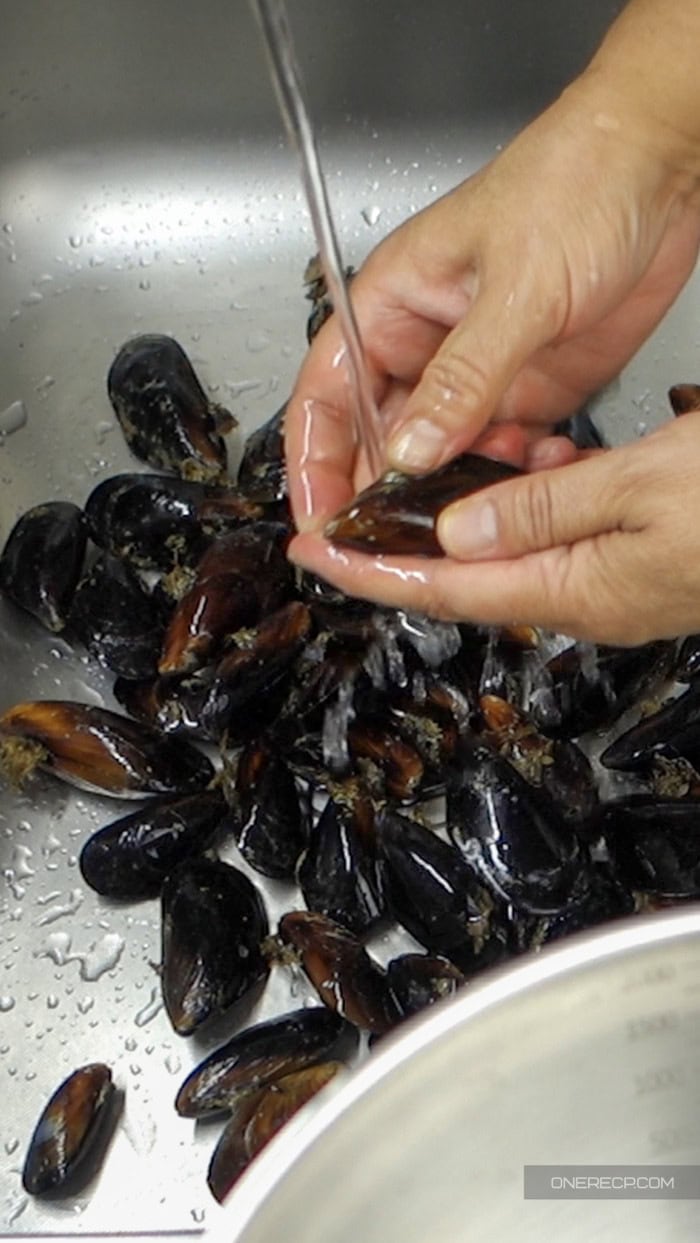
For stubborn dirt or deposits, use a stiff-bristled brush.
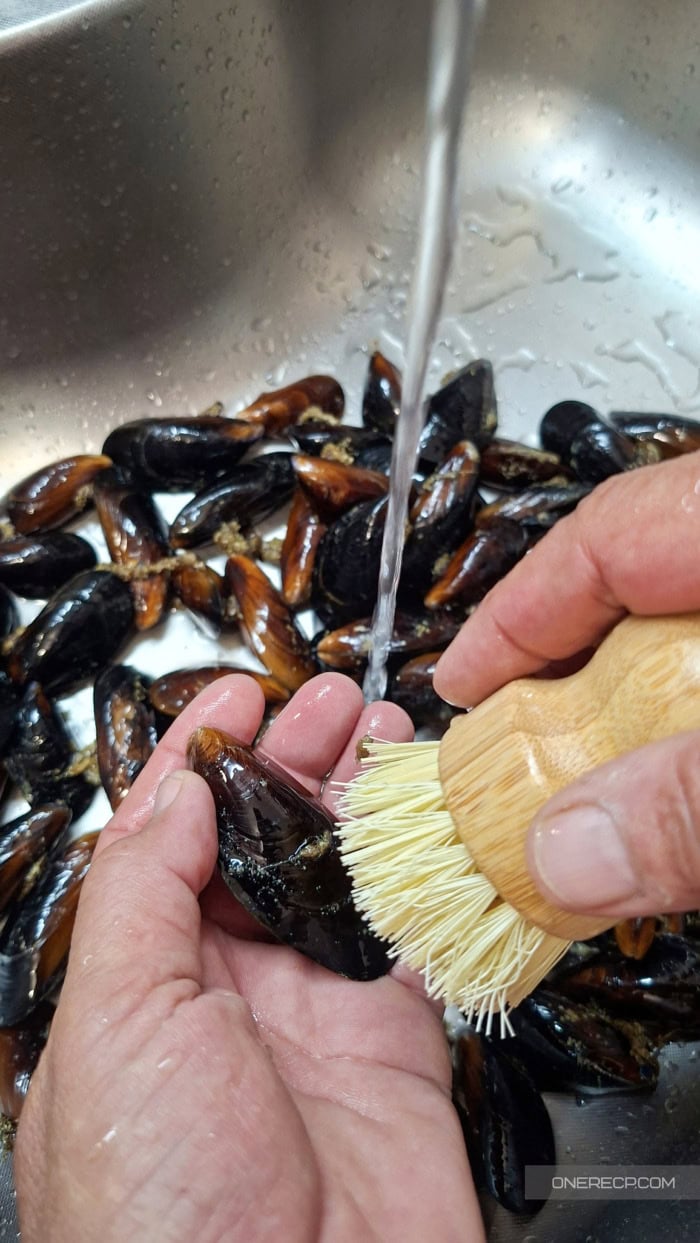
The shell does not have to look polished when you’re finished. Mussels can have hard material firmly attached to their shells, and I don’t scrape away at every mark simply to make a black shell look pristine. I’m cleaning something I’m about to cook, not preparing the shell for display.
4. Check each mussel as you work
Individual cleaning doubles as your second inspection.
I discard any cracked or broken mussel I notice while working through the batch. Damage can be surprisingly easy to miss at first because of the dark shells, which is another reason I prefer handling every mussel individually rather than washing the whole pile and calling it done.
FDA guidance also recommends discarding shellfish with cracked or broken shells.
5. Transfer the cleaned mussels to a clean bowl or colander
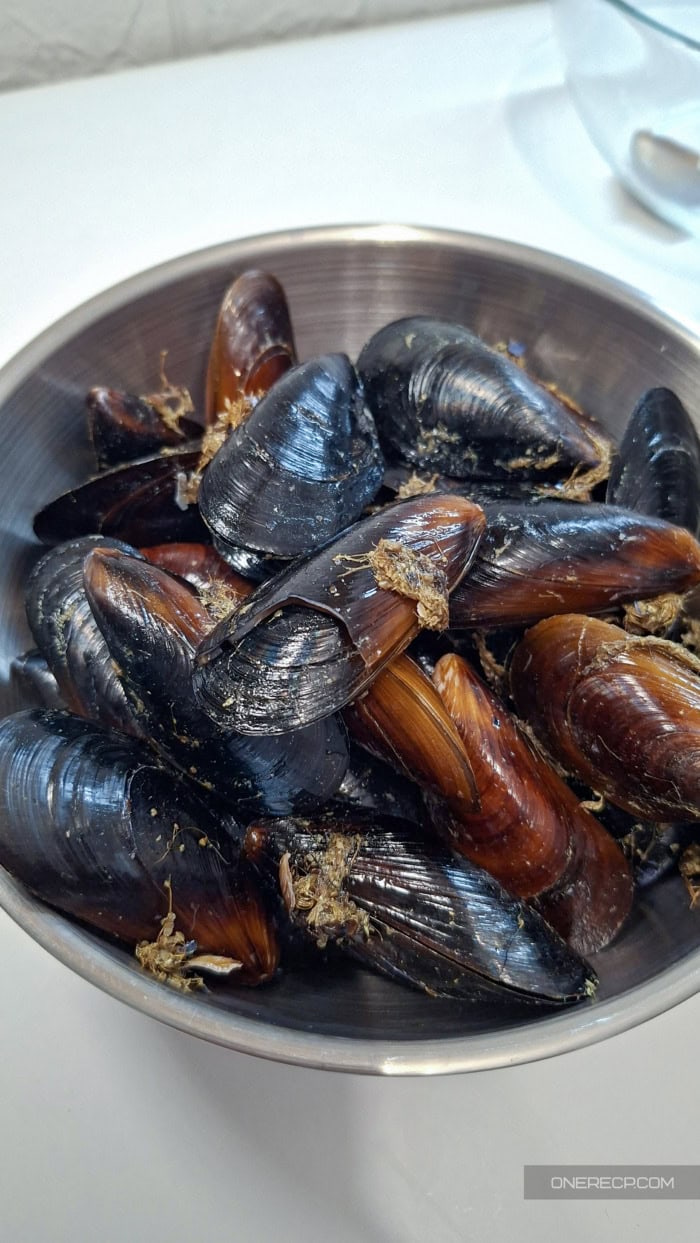
As I finish each mussel, I move it out of the sink and into a clean container.
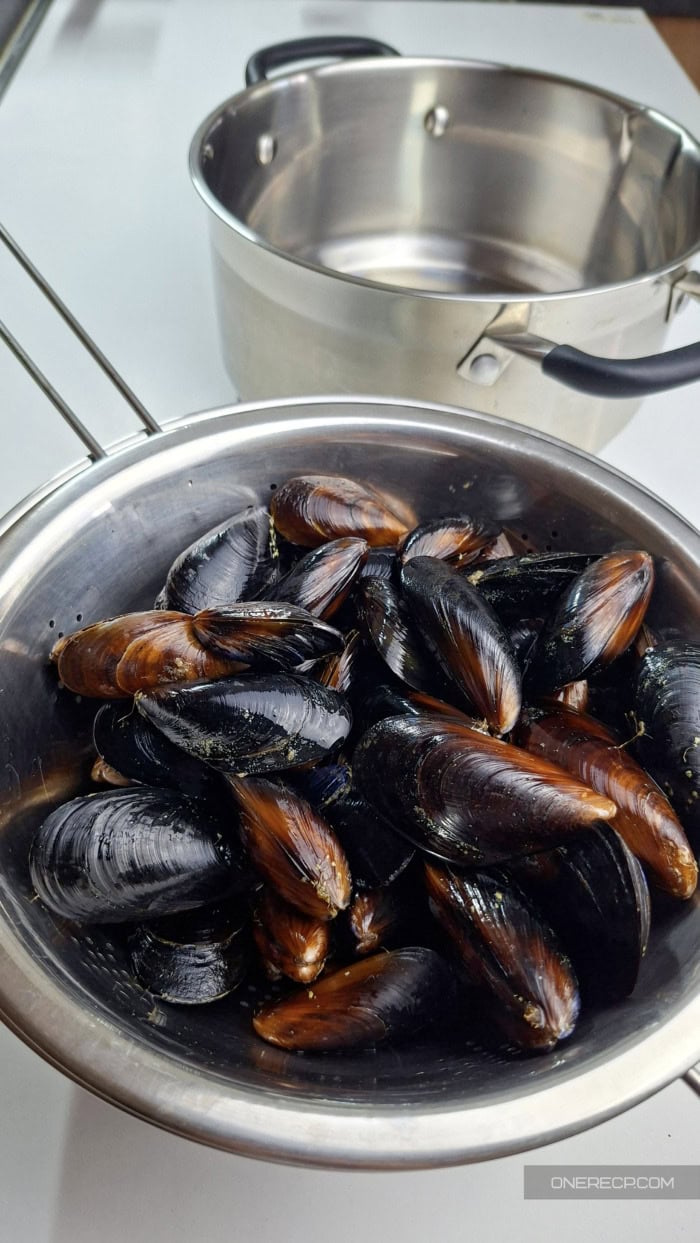
I use either a clean bowl or, increasingly, a colander set inside a bowl. The colander is convenient because any water dripping from the mussels collects underneath instead of around them.
Once I’ve cleaned the last mussel, I don’t rinse the whole batch again. Every mussel has already been rinsed and inspected individually.
From there, they go straight into my waiting pot.
Do You Need to Soak Mussels Before Cleaning?
I don’t soak mussels before cleaning them.
Years ago, I actually did. The mussels we bought were packed differently, and I would briefly leave them in tap water while I prepared everything else for cooking. I haven’t noticed any benefit from doing that, and it isn’t part of my method anymore.
There’s also an important difference between rinsing mussels under cold running water while you clean them and leaving live mussels submerged in freshwater.
Live mussels shouldn’t be stored submerged in water. Maine Sea Grant specifically advises against submerging live mussels in freshwater, while recommending that they be rinsed under cold water during preparation.
You’ll find various soaking and purging methods elsewhere, particularly for dealing with sediment. I don’t use one for the farmed mussels I cook, so I’m not going to give you a soaking ritual that isn’t part of my actual process.
If I get an unusually dirty, gritty batch, I’ve found that the quality of the mussels themselves matters far more than trying to clean them into submission. That’s one reason I inspect the batch before buying whenever I can.
How Do You Know When Mussels Are Clean?
There isn’t a final trick or test.
By the time I finish, every mussel has already been in my hands. I’ve checked the shell, removed the beard when there was one, washed away dirt and debris, scrubbed anything that needed extra attention, and discarded damaged mussels.
A cleaned mussel should no longer feel dirty or slippery from mud and debris, and there shouldn’t be an obvious beard hanging from the shell.
It doesn’t need to look polished.
That’s something I think beginners can easily overdo. When you’ve cleaned mussels many times, you stop examining them like strange little alien objects and the process becomes quick. You’re looking for specific problems, not trying to make every shell perfect.
What to Do After Cleaning Mussels
I weigh out the shell-on mussels I need for a recipe before cleaning them, remove anything obviously smashed that I notice along the way, and clean only that amount.
Don’t expect an exact edible yield from a pound of shell-on mussels. We’re working with mussels, not sugar – a larger shell doesn’t necessarily contain a proportionally larger piece of meat.
Most importantly, I clean them when I’m ready to cook. If your mussels are clean and your pot is ready, you’re finished with this job.